- All
- Product Name
- Product Keyword
- Product Model
- Product Summary
- Product Description
- Multi Field Search
 English
Views: 0 Author: Site Editor Publish Time: 2025-11-07 Origin: Site


You can make crunchy garlic chili sauce at home. You only need a few easy steps. Homemade sauce tastes fresher than store-bought. First, fry garlic until it turns golden. Then, mix it with chili flakes and flavor boosters. This makes the best chili garlic sauce. This simple chili crisp recipe is easy to follow. It gives you chili oil with crispy garlic. Try making this homemade chili oil crisp. See how easy recipes can change your meals. For chili oil recipe details, just follow along. Enjoy making homemade crunchy garlic chili sauce today!
Making crunchy garlic chili sauce at home is easy and saves money. You can pick what goes in and change the taste how you want.
Fry garlic until it turns golden for a crunchy bite. Use medium heat and keep an eye on it so it does not burn. This gives your sauce a strong taste and crispy feel.
Put your chili sauce in a closed container and keep it in the fridge for up to three weeks. Always look for bad smells or mold before you use it.
You might wonder what gives chili crisp its famous crunch. The secret comes from the way you fry garlic until it turns golden and crispy. When you bite into chili crisp, you get little chunks of fried garlic mixed with chili oil and chili paste. This texture makes the condiment stand out from other sauces. You also taste a rich flavor and smell a strong aroma. Chili crisp is a little sweet and not too spicy, so you can enjoy it even if you do not like a lot of heat. Many people love this popular condiment because it adds both crunch and flavor to any meal.
Here is a quick look at what makes chili crisp special:
Fried garlic chunks give it a crispy bite.
Chili oil and chili paste blend for a bold taste.
The flavor is rich, a bit sweet, and not overpowering.
You can use it on many foods, making it a versatile condiment.
Tip: Always fry the garlic at the right temperature. This keeps it crunchy and stops it from burning.
Chili crisp is a popular condiment in kitchens around the world. You can use it in so many ways. People love to spoon it over rice, ramen, noodles, tofu, and salads. It works great as a topping for dumplings, too. Some even add chili crisp to sandwiches, like Vietnamese banh mi, for extra flavor. If you want to try something new, sprinkle it on chocolate bark or dark chocolate toffee. This shows how flexible chili crisp can be as a condiment.
You will see chili crisp in both home and restaurant kitchens. It makes simple dishes taste special. Try it on your favorite foods and see how this popular condiment can change your meals.
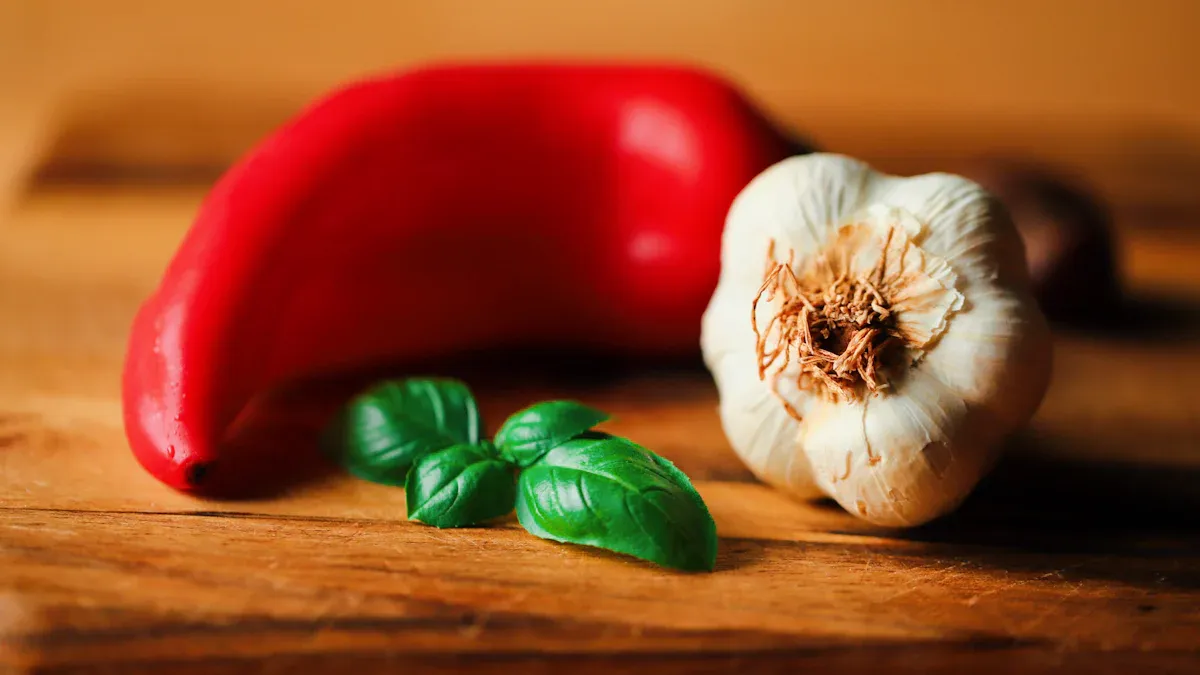
Image Source: pexels
You need just a few basic ingredients to start your chili oil recipe. Grab fresh garlic, chili flakes, and a neutral oil like canola or vegetable. These three make the base for your crunchy garlic chili sauce. Garlic gives a strong aroma and crunch. Chili flakes bring heat and color. Neutral oil helps fry everything without changing the flavor. You can also add salt to balance the taste. Here’s a quick look at the nutrition in these essentials:
| Nutrient | Value | %DV |
|---|---|---|
| Calories | 120 | |
| Fats | 11g | |
| Saturated fats | 1g | |
| Trans fats | 0g | |
| Cholesterol | 0mg | |
| Sodium | 130mg | |
| Carbs | 5g | |
| Net carbs | 4g | |
| Fiber | 1g | |
| Sugar | 0.5g | |
| Protein | 0.5g | |
| Calcium | 10mg | |
| Iron | 0.4mg | |
| Potassium | 90mg |
Want to make your chili oil recipe even better? Try adding soy sauce, sugar, vinegar, honey, dried onions, or sesame seeds. Soy sauce gives your chili garlic crunch a salty, umami kick. Sesame seeds toast in the oil and add a nutty flavor and extra crunch. Culinary experts say these add-ins make your chili oil recipe richer and more complex. You can mix and match to find your favorite taste. If you like sweet heat, add a bit of honey or sugar. Dried onions boost the savory notes. Vinegar brings a tangy twist.
Tip: Toast sesame seeds in the oil for a deeper flavor and crunch.
You don’t need fancy tools for your chili oil recipe. Just grab a heatproof bowl, a frying pan, a thermometer, and some storage jars. These help you fry garlic and chili flakes safely and keep your crunchy garlic chili sauce fresh. If you want a starter kit, you can find a DIY Mala Chili Crisp and Chili Oil Kit for about $75. A basic homemade chili oil setup costs around $14.00.
Heatproof bowl
Frying pan
Thermometer
Storage jars
With these ingredients and tools, you’re ready to make your own chili oil recipe at home.
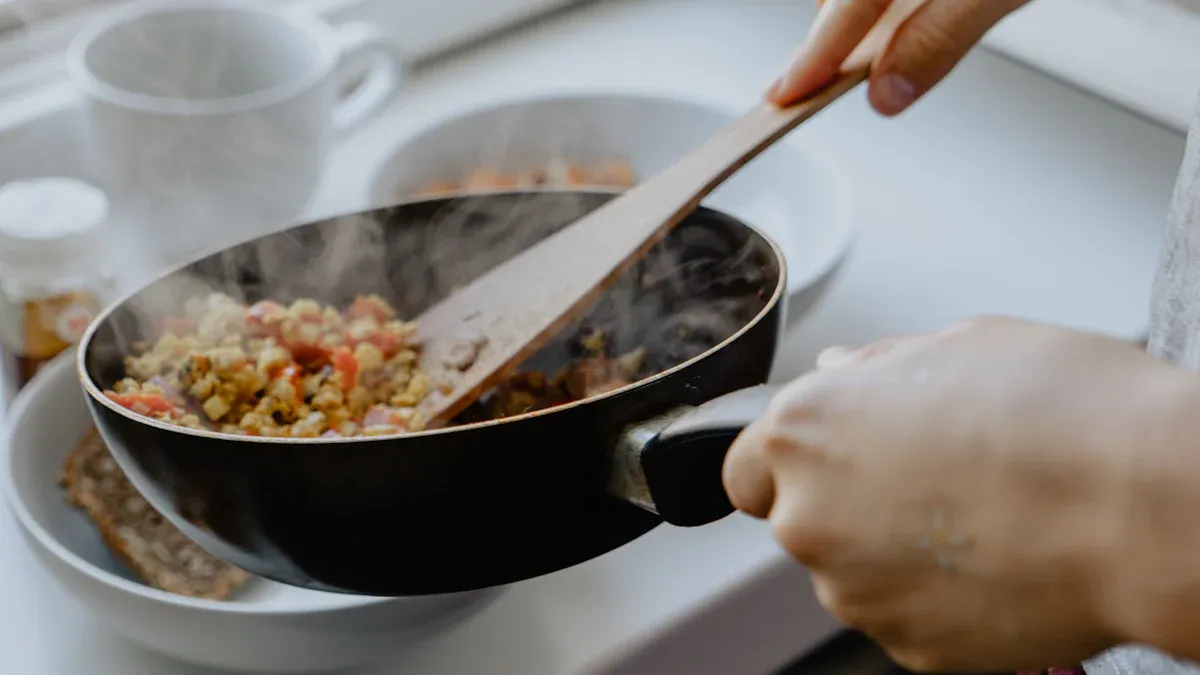
Image Source: unsplash
Ready to start your crunchy garlic chili sauce recipe? First, grab your garlic. Peel each clove and chop them into small, even pieces. You want the garlic to cook evenly in your recipe. If you like extra flavor, you can add aromatics like shallots or dried onions. Slice them thin so they crisp up with the garlic. Set everything aside in a bowl. This step makes sure your recipe has a strong base and a delicious aroma.
Tip: Use fresh garlic for the best crunch in your recipe. Pre-chopped garlic from a jar won’t give you the same texture.
Now, let’s fry the garlic for your recipe. Pour neutral oil into your pan. Add the chopped garlic right away. Turn the heat to medium-high. Watch for steady bubbles around the garlic. Stir often and scrape the sides of the pan. This keeps the garlic from sticking and burning. You want the garlic to turn pale golden brown. This usually takes five to seven minutes in your recipe. As soon as the garlic looks golden, drain it quickly. If you leave it in the hot oil, it will keep cooking and might burn.
Combine garlic and oil in your pan.
Heat until bubbles form and garlic starts to float.
Stir and scrape the sides for even frying.
Cook until garlic is pale golden brown.
Drain right away to keep the crunch.
The oil temperature is important in this recipe. Aim for around 300°F. If the oil gets too hot, the garlic will burn and taste bitter. If it’s too cool, the garlic won’t get crispy. Keep an eye on the pan and adjust the heat as needed. You can finish this step in under ten minutes, so your recipe moves fast.
Note: If you want to add sesame seeds or dried onions, toss them in during the last minute of frying. They crisp up quickly and add extra crunch to your recipe.
After frying, let the oil cool for a minute. This is the best time to add chili flakes and spices to your recipe. If you add chili flakes to hot oil, they can burn and taste bitter. Wait until the oil is warm, not sizzling. Sprinkle in your chili flakes, salt, and any other spices you like. Stir everything together so the flavors mix evenly in your recipe.
Here’s how to get the best flavor in your recipe:
Add chili flakes after the oil cools a bit.
Start with a small amount. You can always add more if you want extra heat in your recipe.
Mix well so every bite has chili and spice.
Taste and adjust salt or sugar for balance.
If you want subtle warmth in your recipe, add chili flakes early. For a sharper kick, sprinkle them in at the end. Always remember, you can add more chili, but you can’t take it out once it’s in your recipe.
Tip: Never add chili flakes directly to hot oil. Let the oil cool slightly first. This keeps your recipe from tasting bitter.
Your crunchy garlic chili sauce recipe is almost done. Let the mixture cool to room temperature. This helps the flavors settle and keeps the garlic crispy. Once cool, spoon your sauce into clean jars. Seal them tight. Store your recipe in the fridge for freshness. Homemade chili garlic crunch stays good for weeks if you keep it sealed.
The balance of oil and crispy garlic matters in your recipe. Too little oil makes the garlic dry. Too much oil makes the recipe greasy. Find a ratio that gives you crunch and flavor. Most people use enough oil to cover the garlic and chili flakes, but not drown them.
Note: Your recipe takes less than thirty minutes from start to finish. Sometimes you can make it in just ten minutes if you prep fast.
If you want to share your recipe, pour it into small jars and give them to friends. Homemade chili garlic crunch makes a great gift. Every time you use your recipe, shake the jar or stir the sauce. This keeps the flavors mixed and the crunch even.
Burnt garlic can ruin your homemade chili crunch. You want that perfect golden color and crispy texture. Here are some easy ways to keep your garlic from burning:
Chop garlic into larger pieces. Small bits cook too fast and burn easily.
Use low or medium heat. High heat makes garlic turn bitter.
Start with cold oil and a cold pan. This helps garlic cook slowly and evenly.
Make sure garlic is coated in oil before you turn up the heat.
Let the oil cool down if it gets too hot before adding garlic.
Tip: Add garlic later in the cooking process if you use other aromatics. This keeps it crunchy and stops burning.
You control the spicy level in chili garlic crunch. If you want less heat, pick milder chilies and remove seeds. For more spicy flavor, add extra chili flakes or use hotter varieties. Toast dried chilies to boost flavor without making it too spicy. You can also make two batches—one mild, one spicy—so everyone gets what they like.
Want a sweeter chili crunch? Add a little honey or sugar. This balances the spicy kick and makes your crunchy chili oil taste smooth. Umami ingredients like tomato paste or mushrooms help mellow out sharp flavors.
Homemade chili crunch lets you get creative. Try adding dried onions for a chili onion crunch twist. Toss in sesame seeds for extra nutty flavor. Mix in vinegar for tang or soy sauce for a salty punch. You can even add mushrooms or tomato paste for more depth. Every batch of chili garlic crunch can taste different. Experiment with your favorite spices and see what works best in your crunchy chili oil.
Note: Homemade chili crunch is all about making it your way. Change up the flavors and heat until you find your perfect chili crunch.
You can use crunchy garlic chili sauce in so many classic ways. Spoon it over a bowl of steamed rice for a quick flavor boost. Stir it into hot noodles or ramen to add crunch and heat. Many people love it on dumplings, wontons, or potstickers. You can also drizzle it over fried eggs or scrambled eggs for a spicy breakfast. Try it on roasted vegetables or tofu for extra taste. Chili garlic crunch works well as a topping for grilled meats or seafood. You will find that it makes simple dishes exciting and bold.
Tip: Add a small spoonful to your soup or broth. It brings out deep, savory flavors and gives your meal a little kick.
If you want to get creative, there are many fun ways to enjoy chili garlic crunch. Here are some ideas:
Use it as a dip for fried foods like chicken tenders, fries, or spring rolls.
Mix it into sauces or dressings for salads and grain bowls.
Stir a spoonful into stocks or gravies to add a rich, spicy note.
Sauté vegetables or proteins in the chili oil for a bold stir-fry.
Spread it on sandwiches, burgers, or wraps for a crunchy twist.
Try it on pizza, avocado toast, or even popcorn for a unique snack.
You might wonder how to serve garlic chili crunch at your next meal. Just start with a small amount and taste as you go. This sauce can turn any dish into something special. You can even use it as a secret ingredient in your favorite recipes.
Note: There are no rules when it comes to chili garlic crunch. Try it on new foods and see what you like best!
You want your homemade chili oil to stay fresh and tasty as long as possible. The best way to keep it safe is to store it in an airtight container in the fridge. Fresh garlic and soy sauce in the mix can spoil quickly if you leave the sauce at room temperature. When you keep homemade chili oil cold, it stays good for up to 3 weeks. Always use a clean spoon when you scoop some out. This helps prevent bacteria from getting into your jar. If you make a big batch, divide it into smaller jars so you open only what you need.
Tip: Write the date on your jar. You will always know how long your homemade chili oil has been in the fridge.
You should check your homemade chili oil before using it. Look for changes in color or texture. If the oil separates or forms a thick layer on top, give it a good shake. Sometimes, separation is normal, but you need to watch for other warning signs. A strong, sour smell or any visible mold means you should throw the sauce away.
Here’s a quick table to help you spot spoilage:
| Indicator | Description |
|---|---|
| Change in color | Especially if it gets darker |
| Off smells | Sour or strong odors |
| Separation | Won’t mix back together when stirred |
| Mold growth | Mold on the surface |
Always check for:
Change in color or texture
Separation or thick oil layer
Visible mold
If you notice any of these signs, it’s safer to make a new batch. Homemade chili oil tastes best when it’s fresh, so don’t risk using old sauce.
You just learned how easy it is to make crunchy garlic chili sauce at home. Check out the main benefits:
| Homemade Chili Crisp | Store-bought Chili Crisp |
|---|---|
| Costs pennies | Can cost $15 or more |
You can skip allergens and pick your favorite chilies. Try extra garlic, smoked paprika, or mushrooms for new flavors. Share your ideas or questions below!
You can use olive oil, but neutral oils like canola or vegetable work best. Olive oil may change the flavor and smoke at high heat.
You control the heat. Use mild chili flakes for less spice. Add extra hot chili flakes if you want more kick. ️
Yes, you should keep it in the fridge. This helps your sauce stay fresh and safe to eat for weeks.


